Sunday, August 18, 2024

Tripmeter and Switch Panel Installation

Sunday morning, and Damian figured it was time to get started on the fiddly things, like installing the tripmeter and the switch panel for the safety lights (that was currently just sitting in the passenger footwell).


The tripmeter wasn't too bad... Damian had bought some suction cup mounts for the windscreen, and attached them to a slightly modified bracket at the back.

With the suction cups doing their job, the bottom of the tripmeter would be sitting on the dash mat.  To help secure it, some velcro (well, the cro side of the velcro).  Fun fact - did you know that velcro is a portmanteau of "Velvet" and "Crochet"?


Voila!  And Ben Semple - if you're reading this there's nothing wrong with the tripmeter - the camera just didn't like the screen refresh rate!  This is a "Simple Semple" tripmeter - awesome gps goodness!


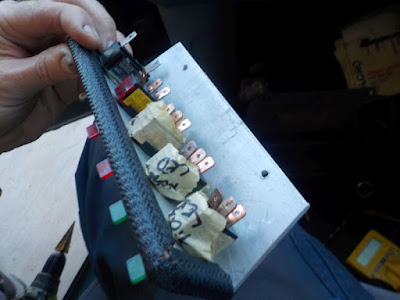
Next cab off the rank - installing the switch panel...  Damian decided it could go into the little space between the radio and the ashtray...  Out with the mounting panel...  wires brought through from behind...


In with some carefully selected holes - top ones to get a screwdriver down to secure the switch panel, back one to bring the wires through!


Label and disconnect wires...


And voila!  Lights even work!


So why didn't Damian make any more progress than this I hear you ask?  Well... after reconnecting all the carefully labelled wires, the damn lights wouldn't work!  Much cursing and tracing of wires later and they briefly flashed up then disappeared again... suspecting a broken wire somewhere, Damian checked the wires to the relay, and they were fine... so then he started tracing earth wires...

What do you know?  The earth wire on the main switch was broken... Not anywhere apparent, Damian found it with a multimeter... the wire was actually broken below the crimped end, but under the heat-shrink tube!  What a debacle!!

Still, the end result was awesome, and that's all that matters!


Saturday, August 17, 2024

Prep work continues...

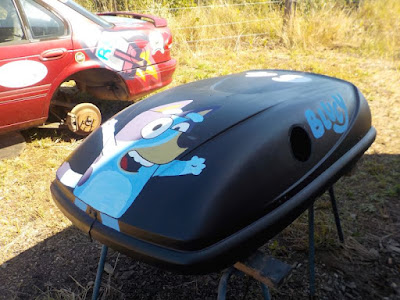
Having finished the theming of the rooftop pod, all that was left was for a clear coat (or two) to protect the artwork... Damian uses the term "artwork" very loosely!!


Before the clear coat...


After the clear coat...


Next up, it was time to replace the water pump - the second item from the mechanical check that Damian was to undertake... Having gone for a drive in Booger Mobile to the auto parts store to pick up a new water pump, it was time to get down to business!


Shiny new water pump...


Take the thermo fans out of the way...


And after much annoyance and trimming down the heads of the bolts so they would get passed the pulley (honestly, why have a part that you can't get a ratchet onto???), the shiny new water pump was installed successfully... 


After two clear coats had dried, it was time to reinstall the safety lights and speakers on the rooftop pod!


Rear facing white light...


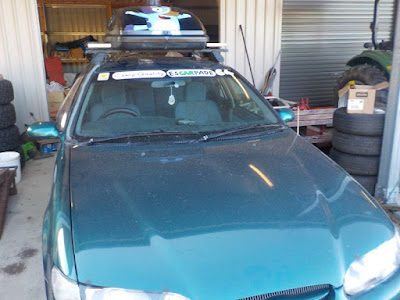
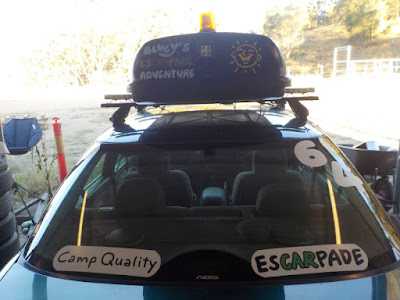
And voila!!  The rooftop pod is installed!!


Looks the goods... Bluey on the other hand is covered in dust courtesy of where Damian lives!


Lights even work!  Amazing...


Video of pretty flashing lights...


And just like that, Bluey is finally starting to look like an esCarpade car...  Once the theming stickers arrive, it will be even more spectacular!


If you want to see Bluey in the flesh (well, the metal, really), come along on Sunday 25 August 2024 to the Corvettes on the Bay event at the George Clayton Park, 55 Upper Esplanade, Manly, where Damian and Hoges will be guests of the Qld Corvette Club - fabulous long-time supporters of Camp Quality!


Friday, August 16, 2024

Theming - Rooftop Pod

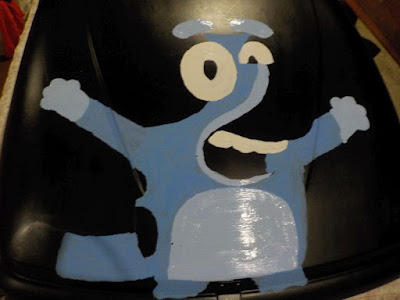
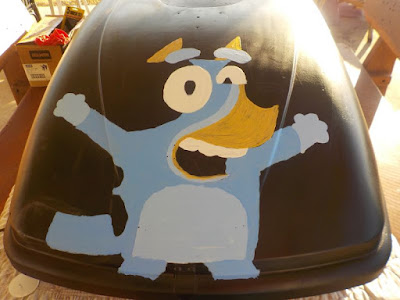
Damian thought the rooftop pod needed a little theming, so over the past couple of weeks he has set out to do just that!  In the last blog post, you saw the preparation work with the stencil and the tracing of the outline...

And here's the finished product!


But how did it get there?  Start with the light colours...


Picasso would be proud!


Alright, it's just getting creepy now!


Starting to slowly take shape...


More coats of paint...


And that's the light colours done!


Time to do the gold bits...


Almost starting to look like Bluey now!


It's a slow and painstaking process...  Add a coat, wait for it to dry... rinse and repeat!


And on with the purple...


Although the purple is probably the right shade, it's a bit hard to see against the black of the rooftop pod...


So Damian made it a couple of shades lighter for the last coat...


And on with the black outlines... amazing what a difference a few lines can make to the image!


This part of the rooftop pod looked a little lonely, so why not add the car number?  There will no doubt be drones flying around on this year's event, so at least people will be able to tell which car is Bluey!!


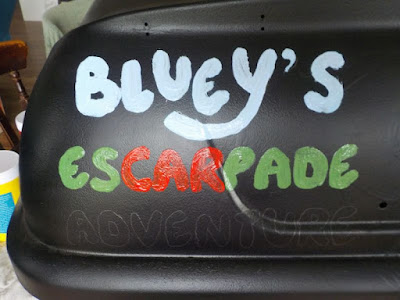
Now some new stencils for the rear of the pod...


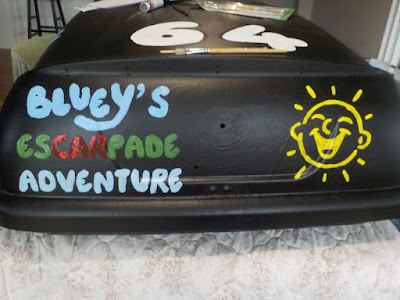
Bluey's esCarpade Adventure!  Got a nice ring to it...


Stencils traced...


And painting commenced...


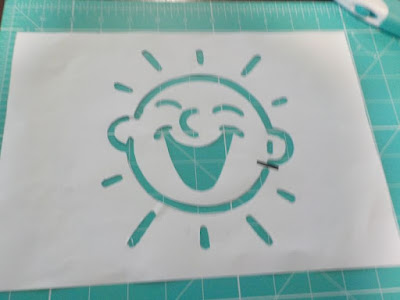
While that paint dried, Damian cut out a new Giggle logo stencil...


Tada!


And traced onto the rear of the pod...


First coat of paint...


Second coat of paint...


Probably one more coat of paint (or maybe not) and the black outlines to be applied, then the rooftop pod will be ready for a clear coat to protect (and hopefully seal in) the colours...

With esCarpade only 8 weeks away, time it flying past, and there's still so much to do!


Bluey is good to go for esCarpade - must be some kind of record!

Having Bluey's automatic transmission service completed on Thursday was the last bit of work requiring a mechanic to complete preparatio...